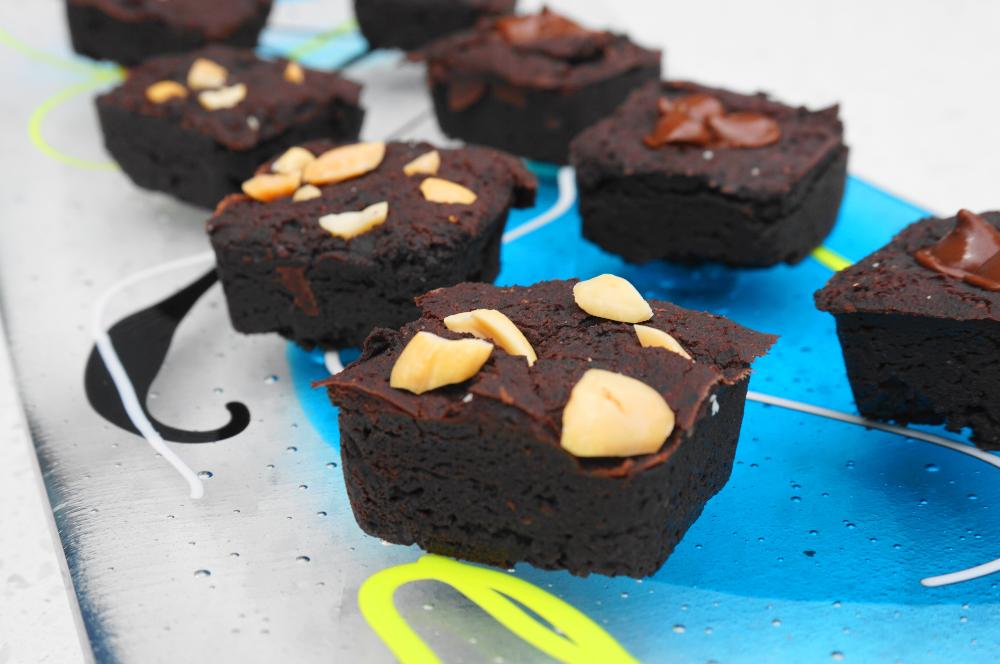
Filled with protein, fibre, low in sugar, no added oil or fat, high in antioxidants and incredibly delicious? You will never believe the main ingredient in these dark chocolate peanut butter morsels is…..BLACK BEANS! I was skeptical too when I read about black bean brownies on various blogs, but honestly if you haven’t tried them yet, you will be amazed at just how good they are. I have a lot of combinations, coffee, chili powder, candied ginger, but the family favourite is this recipe with peanut butter.
Simple and quick, these come together in about 10 minutes (with the help of the food processor) and they bake quickly too, especially these small size square ones. This dessert or treat is truly guilt free!
Dark Chocolate Peanut Butter Brownies (with Black Beans)
Makes 24 squares
1 can or 1 3/4 cup cooked black beans (if using canned beans, rinse well and drain them well)
2/3 cup cocoa
1 tsp vanilla extract
1/4 teaspoon salt
1 1/2 teaspoon baking powder
1/2 cup sugar
2 tablespoons milled flax
1/4 cup water
1/4 cup natural peanut butter (Natural peanut butter contains only peanuts and salt)
few tablespoons of chopped peanuts
Directions: Heat oven to 350 degrees. Mix flax with water and set aside while you put everything else in the bowl of the food processor, and then add the flax and water mixture. Blend well until beans are pureed and everything is well incorporated. It will look like hummus with an easy spreading consistency. Add a little water or milk to thin if necessary. Scoop into prepared pan and top with chopped peanuts or chocolate chips if desired. I used a silicone baking sheet with squares so no greasing was necessary. If using a conventional muffin tin, line with parchment cups or grease well. Bake at 350 degrees for 10- 25 minutes. My silicone baking squares made 24 and took just over 10 minutes but a conventional muffin pan would make 12 brownies and take about 20-25 minutes. They are done when the look dry on top and they have moved a little away from the edges of the pan. They should be moist in the middle. Let cool in pan before removing gently. Best enjoyed the day they are made.
The inspiration for this recipe came from many blogs, especially Minimalist Baker and My Little Celebration.
